Tuesday, October 26, 2010

Shopping for Free Clothes, Avatar, Texture and Free Item


TELEPORTING TO FREEBIES WORLD, LEDION-MODARTE WHERE TO FREE ITEM, FREE AVATAR, FREE TEXTURE AND FREE CLOTHES


ARRIVING AT MY DESTENATION 

BUYING OF SOME FREE ITEM


After purchasing by clicking on buy, the free item which was Ring
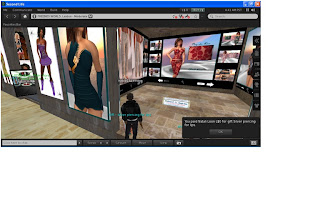

Purchasing free items Appolyon Male


After purchasing by clicking on buy


BUYING OF SOME FREE AVATAR
Buying of HALO Avatar 


After buying the HALO Avatar by clicking on buy
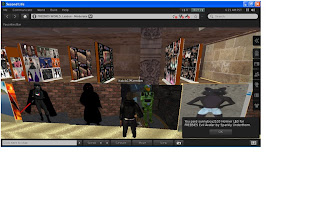


Buying of free Evil Avatar

After buying the Evil Avatar by clicking on buy


BUYING OF FREE TEXTURE
Buy of Absolute Texture


After buying the Absolute Texture by clicking on buy
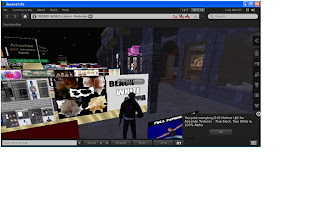
Buying of KD Texture


After buying the KD Texture by clicking on Buy


BUYING FREE CLOTHES


After clicking on Buy


Monday, October 25, 2010

SECOND LIFE BUILDING


BUILDING AND CONSTRUCTION IN SECOND LIFE (SL)
Just located Anglia Ruskin University Island
Teleporting into Anglia Ruskin University Island
 
Clicking on build and the tool that will be for build appear 
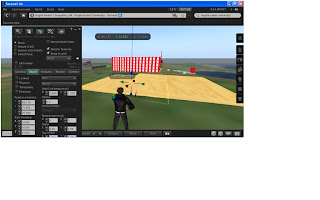
Clicking on create and also clicking on cube, then clicking on the part were one want it to be


After scaling the box up to 9 meters in both X and y axes


Clicking on create and on copy selection 

Click on the end of one of the face of the base of the cube, we have the duplicate of the base prim

 
Clicking on create and also clicking on the copy selection, I click at the top of the cube and also move the habib13 Lemton the first duplicate been created
Clicking on the top of the duplicate


Holding down CTRL+SHIFT on the keyboard and adjusting the top


Clicking on the arrow beside the world and the clicking on option button then setting the grid units in the new window
 
Scaling the wall in the z axis 
Clicking on create and also leaven the copy selection and after duplicating

Pressing CTRL+SHFT then drag the duplicate to the edge
Resizing the new wall

 
Extending the wall of the adjusted X and Y axis
 
Repeating the same process for the wall at the other side of the building

 Building the Front wall,I made use of the process in building the side wall
Adding roof to the building I click on create and also click on the prism, after which I hold down crtl+shift, then I drag all axis x,y, and z. I also click on the move to be able to lift the top of the building.


When the roof is final placed on the house

Hold on SHIFT then selecting all the wall
 
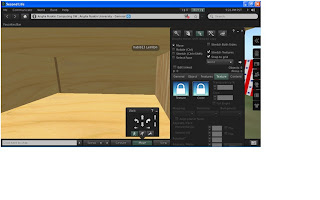
Adding textures to the building click on the edit window then clicking on the Texture Preview panel


By using the file browser on the right window, I navigated and I choose this texture


Then clicking on ok
Inside the building
Back of the building


Front of the building and side view of the building


Saturday, October 23, 2010


CREATING A BOAT WITH GIMP
The Gimp Window’s, when the gimp opens at first
 

Putting layers into the Gimp


Putting layers into the Gimp

Creating new image 800 by 600

Where the image will be place is now set
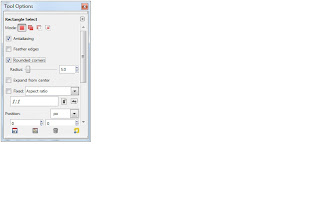
Choose the Rectangle Select Tool (R) from the Toolbox
Still on Choose the Rectangle Select Tool (R) from the Toolbox
Drag a rectangular box around the lower half roughly of the canvas in the Image Window
Select Foreground and Background colours

The selection of the Foreground and Background colours
Selecting the Blend or gradient tool from the Toolbox window
Paint in the gradient, in the image window below, I held the mouse in the upper middle part of the selection, drag it down to the bottom and I let go

 Clicking the Ellipse Select Tool (E) from the Tool Box 
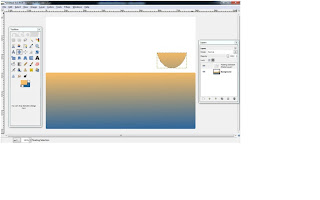
Dragging a circular shape such to the upper half of the circle is over the white area your background and the lower half is over the coloured area
Clicking on the Rectangle Select Tool from the Toolbox

A new layer is formed

Clicking on Move Tool (M)
Moving the other half of the sun


I click on layer on the gimp window
Using the Move Tool to move the half of the sun and placing it on the edge of the coloured rectangle 

 
Clicking on the Free Selected Tool from the Toolbox to draw the river also duplicating the creating river layer

 
Selecting the Foreground and the Background colour of the river


Blending the highlighted part with the colour selected
Clicking on the Fuzzy and also clicking on the Background layer, also using the Fuzzy to inside the white part of the layer window been created
 

 Click on the Foreground and background colour on the Toolbox, to select colour for the white part of the gimp layer window
 
Clicking on the Blend to make the white part the colour one has chosen and also dragging it on the white space
 Clicking on the Airbrush Tool (A) in the Tool box
Selecting the Foreground colour one want to use
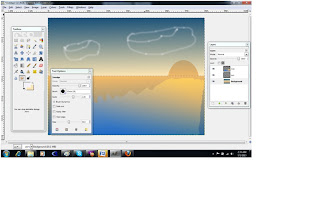
Drawing a shape of a cloud

Clicking on Smudge Tool (S) in the Toolbox

Blend and soften the clouds


Copying this http://mojo.csd.anglia.ac.uk/~marie/gimp_intro/img/sailboat.jpg this, after click on the file and click on the open location and place it on the space on the location
Clicking on the Fuzzy (U) and clicking on the part of the boat and Bucket Fill Tool (SHIFT+B) to fill in the hull, mast and sails with colour
 
Clicking on the Fuzzy (U) and clicking on the right side of the boat and Bucket Fill Tool (SHIFT+B) to fill in the hull, mast and sails with colour
Clicking on the Fuzzy (U) and clicking on the left side of the boat and Bucket Fill Tool (SHIFT+B) to fill in the hull, mast and sails with colour
 
Clicking on the Fuzzy (U) and clicking on the boat and Bucket Fill Tool (SHIFT+B) to fill in the hull, mast and sails with colour

To inserting the boat into the gimp window, crtl (C) to copy and crtl (V) to paste
Duplicating the boat


Pressing the shift + p to adjust the shadow of the boat to want i want it to be

 
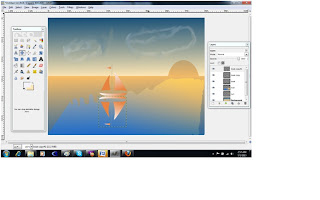
Here is my final result to the boat.