CREATING LOGO
When the gimp window’s open first
When the layer have been created by clicking on file, then clicking on New
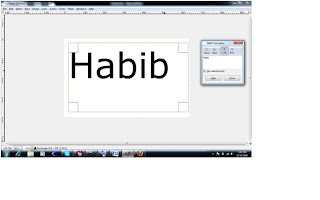
Clicking on the rectangle tool, then I drag it, I now click inside the layer to write
This was what I wrote in the text layer

Then I merge the text layer and the background layer
I click on colour, after which i click on invert
I click on filter from the gimp window, then I click on BLUR after which I click on GAUSSIAN BLUR I choose the 5.0 for the Horizontal and vertical then I click on OK
This was the out come
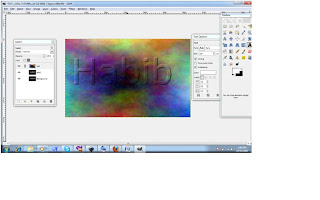
I click on filters form the gimp, then I click on Render after which i now click on clouds, then I click on plasma. This was my out come

I Added the new layer by right clicking on the layer window
I copied and paste ,by (ctrl + c) and (ctrl + v) on the layer window
This was my out come
I click on the new layer been created then I right click on Anchor layer, this was my outcome
I click on colour from the Toolbox window the i choose my colour. This was my outcome
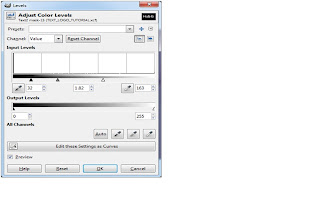
I click on colour from the gimp layer, I click on level after which I choose my prefer Adjust colour

I duplicated layer two and rename it as shadow (CTRL+SHITF D)
I move the layer duplicated layer down and the text layer and appling the layer mask to the shadow
I fill the text in the shadow layer with black and here is my final logo.


No comments:
Post a Comment