Monday, November 8, 2010

GOGGLE SKETCH UP

Choose the rectangle tool from the tool bar and use it the draw rectangle shape
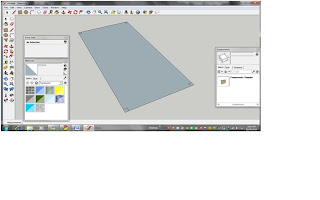
Clicking on rectangle and then clicking circle, after which click on line to draw out the line, then now click on materials to change the color to what you want
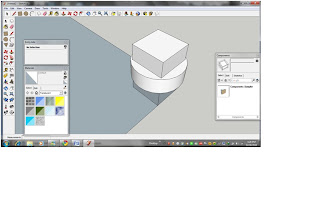
Create the type of edge u want and choose the type of materials you want
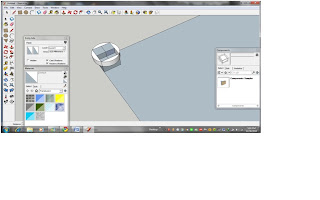
Creating the type of edge and also using materials
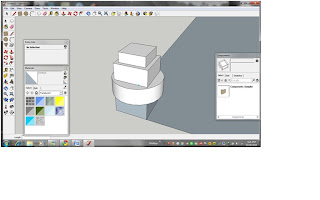
The side view of the edge and the color change by clicking on the color from the tool bar
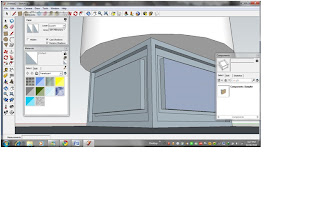
The view of the edge
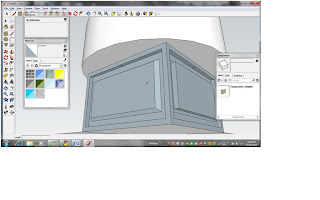
The top view of the floor
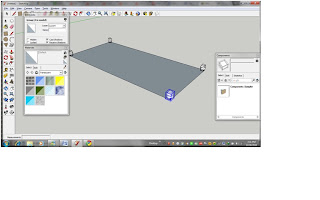
Clicking on rectangle will give you this and also clicking on line from the tool bar
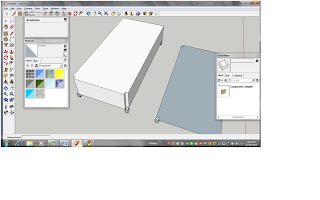
Click on the push or pull tool and use the mouse to take out the triangle
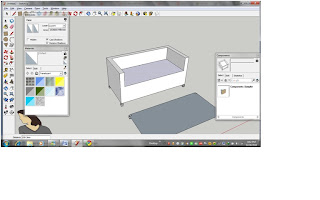
Click on line to draw out line on the rectangle
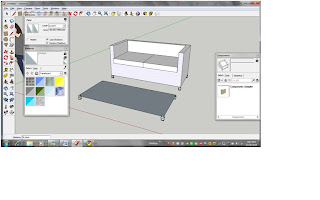
Click on line from the tool bar, then draw out on the harm of the chair then and use the mouse to draw out the drawn line
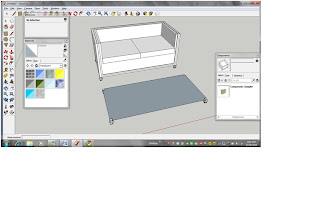
Click on tool from the tool bar and click on materials
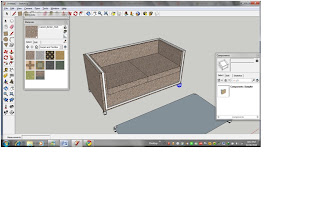
The sane process was use for the edge of the chair
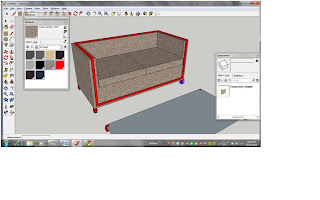
The same step that was use for the first chair was also use for this chair
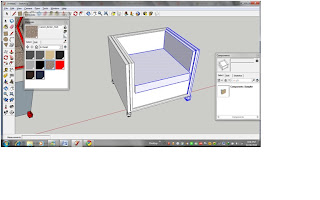
Same step was also use to change the material of the chair
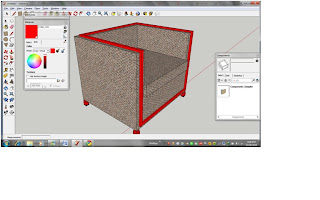
The top view of the chairs
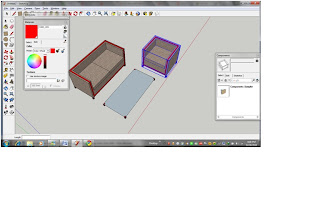
The third chair was built the same way the first and second was built
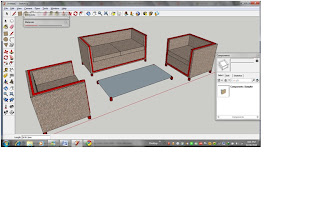
Clicking on rectangle to create the table after which it was been drag up and I click on the line to draw on the edge of the rectangle, after which I use the mouse to take it out
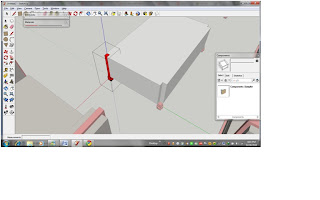
This is the side view of the table
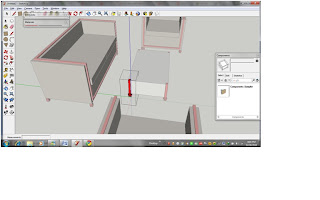
I click on line then click on pull were I now my mouse to pull out the drawn part now it a table
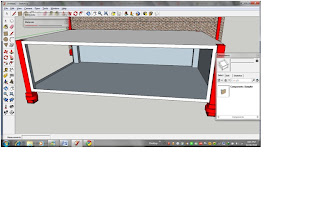
I click on material the I choose my material type of the table
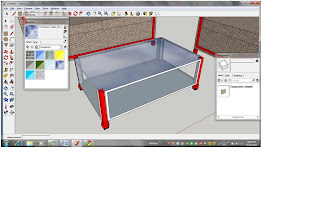
This was when the material change the table
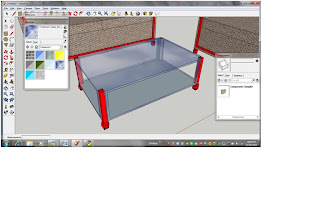
The top view of my drawings
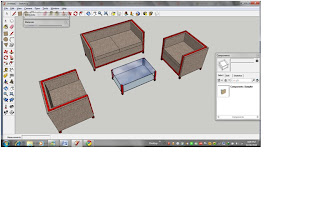
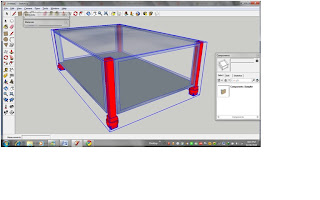
The table
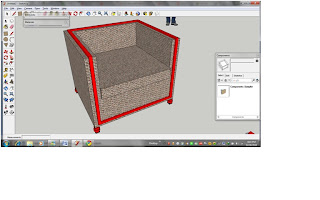
The single chair
The double sitter chair
 
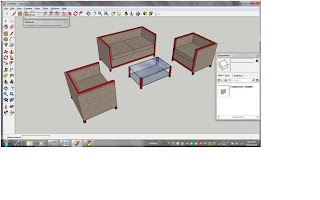
The final look of drawings
Tuesday, October 26, 2010

Shopping for Free Clothes, Avatar, Texture and Free Item


TELEPORTING TO FREEBIES WORLD, LEDION-MODARTE WHERE TO FREE ITEM, FREE AVATAR, FREE TEXTURE AND FREE CLOTHES


ARRIVING AT MY DESTENATION 

BUYING OF SOME FREE ITEM


After purchasing by clicking on buy, the free item which was Ring


Purchasing free items Appolyon Male


After purchasing by clicking on buy


BUYING OF SOME FREE AVATAR
Buying of HALO Avatar 


After buying the HALO Avatar by clicking on buy


Buying of free Evil Avatar

After buying the Evil Avatar by clicking on buy


BUYING OF FREE TEXTURE
Buy of Absolute Texture


After buying the Absolute Texture by clicking on buy

Buying of KD Texture


After buying the KD Texture by clicking on Buy


BUYING FREE CLOTHES


After clicking on Buy


Monday, October 25, 2010

SECOND LIFE BUILDING


BUILDING AND CONSTRUCTION IN SECOND LIFE (SL)
Just located Anglia Ruskin University Island
Teleporting into Anglia Ruskin University Island
 
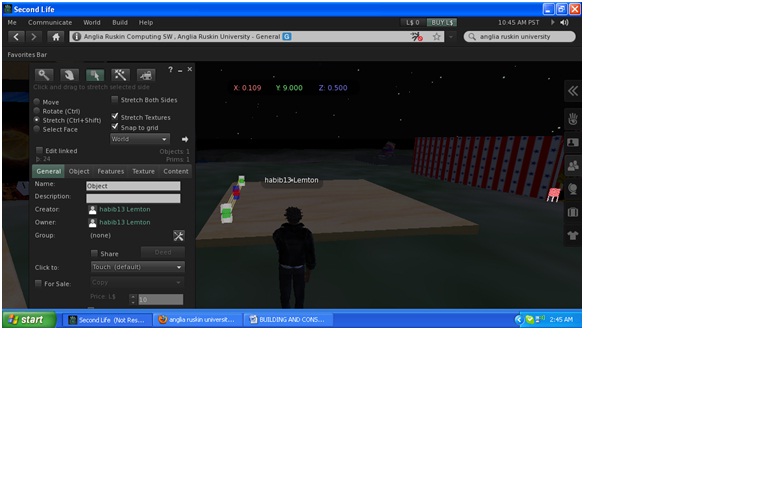
Clicking on build and the tool that will be for build appear 
Clicking on create and also clicking on cube, then clicking on the part were one want it to be


After scaling the box up to 9 meters in both X and y axes


Clicking on create and on copy selection 

Click on the end of one of the face of the base of the cube, we have the duplicate of the base prim

 
Clicking on create and also clicking on the copy selection, I click at the top of the cube and also move the habib13 Lemton the first duplicate been created
Clicking on the top of the duplicate


Holding down CTRL+SHIFT on the keyboard and adjusting the top


Clicking on the arrow beside the world and the clicking on option button then setting the grid units in the new window
 
Scaling the wall in the z axis 
Clicking on create and also leaven the copy selection and after duplicating

Pressing CTRL+SHFT then drag the duplicate to the edge
Resizing the new wall

 
Extending the wall of the adjusted X and Y axis
 
Repeating the same process for the wall at the other side of the building

 Building the Front wall,I made use of the process in building the side wall
Adding roof to the building I click on create and also click on the prism, after which I hold down crtl+shift, then I drag all axis x,y, and z. I also click on the move to be able to lift the top of the building.


When the roof is final placed on the house

Hold on SHIFT then selecting all the wall
 
Adding textures to the building click on the edit window then clicking on the Texture Preview panel


By using the file browser on the right window, I navigated and I choose this texture


Then clicking on ok
Inside the building
Back of the building


Front of the building and side view of the building